Game Update


Reporting in, Commanders!
We trust that you’re finding success on the battlefield. Our reconnaissance teams have secured some key intelligence from the front lines which you may find useful in support of your campaign across the Western Front.
The Tutorial
Being well informed is vital to making strategic decisions. Before you begin your first campaign, we highly recommend playing through the game’s tutorial, which will give you all the basic training you will need to achieve success on the front. You can also revisit specific sections at any time by using the chapter waypoints.
The Encylopedia
Issued to all Commanders and accessible via the icon in the top-left of the screen, the Encyclopedia is a vital tool which will aid you during your command. Containing information to refresh what you have learned in the Tutorial, make use of the Encyclopedia to access additional guidance when you need the support of your advisors.
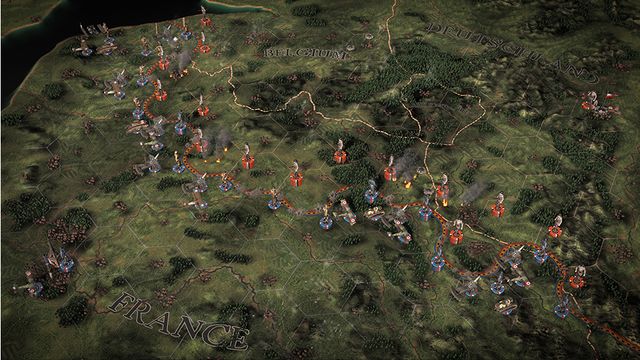
Starting in 1914 vs 1916
When starting a new campaign, you can choose to take command as either the Allied Forces or the Central Powers from the early stages of war 1914, or from 1916 as National Will begins to falter. A 1914 start will allow you to step onto fresh battlefields, where conflict across the Western Front is still in its early stages. Key technologies, such as improved trenches, aircraft and supply depots will need to be researched. Alternatively, by starting your campaign in 1916 you will have immediate access to an array of early technologies, but as the fatigue of battle filters through to families back home, National Will sits at a lower starting point.
Managing Supply
Supply is a key resource in The Great War: Western Front, allowing you to bring the full might of your forces to bear on the battlefield. Managing this critical resource will be vital as you seek to establish a foothold over the enemy. Each unit positioned in a region on the Theatre Map will bring its own Supply, but expanding the amount of Supply at your disposal should be a consideration throughout the campaign.
We strongly recommend that you research and install Supply Depots in territories which you are using as offensive or defensive points. This will improve the Supply pipeline, providing you with greater flexibility on the battlefield when committing resources through artillery barrages, deploying reinforcements, or creating defences. Retreating wounded and demoralized units will also recover a small amount of Supply. Global Supply can be replenished by converting Gold Reserves, and through research you will be able to improve the efficiency of this exchange.
Attacking and Defending
Depending on whether you’re attacking or defending in a battle, the tactics you employ and where you choose to allocate your supply will make the difference between victory and defeat.
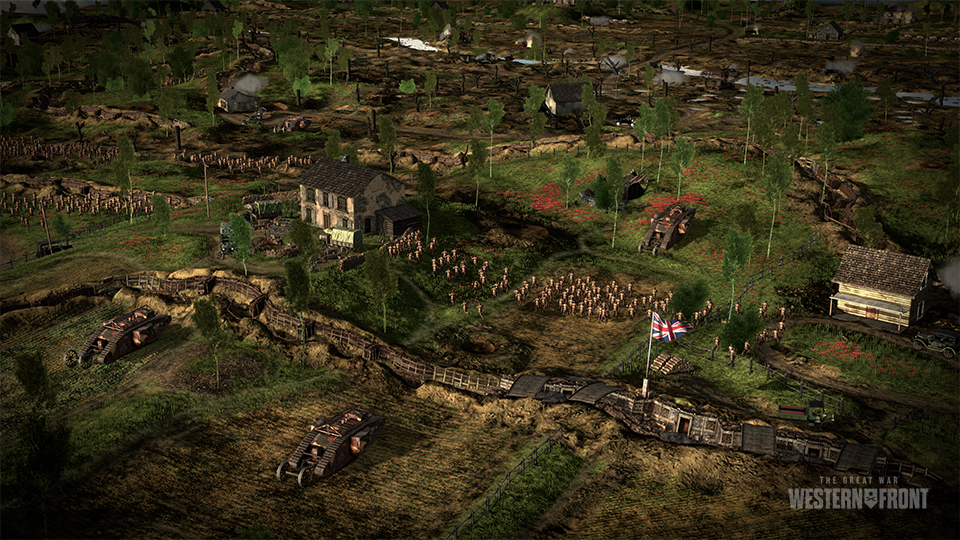
When on the defensive, a strong trench network and emplacements are key. Deterrents such as barbed wire can be deployed once researched, slowing the enemy’s troops as they attempt to cross No Man’s Land. MG Nests and reinforced trenches will provide you a solid front to protect as the enemy attempts to breach.
When attacking the enemy’s territory, remember that whilst only a Great Victory will reduce the number of stars in the region, even a minor victory will impact their National Will. Your foe will also look for opportunities to counter-attack, so ensure you are on your guard!
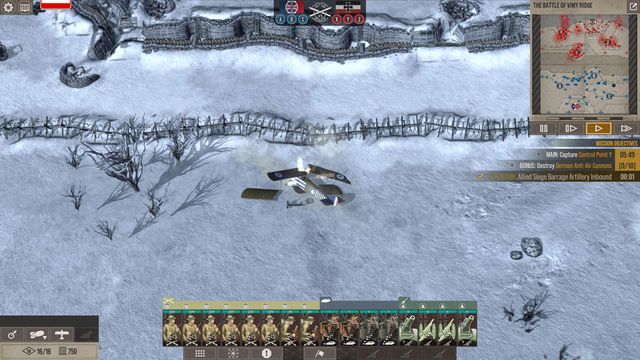
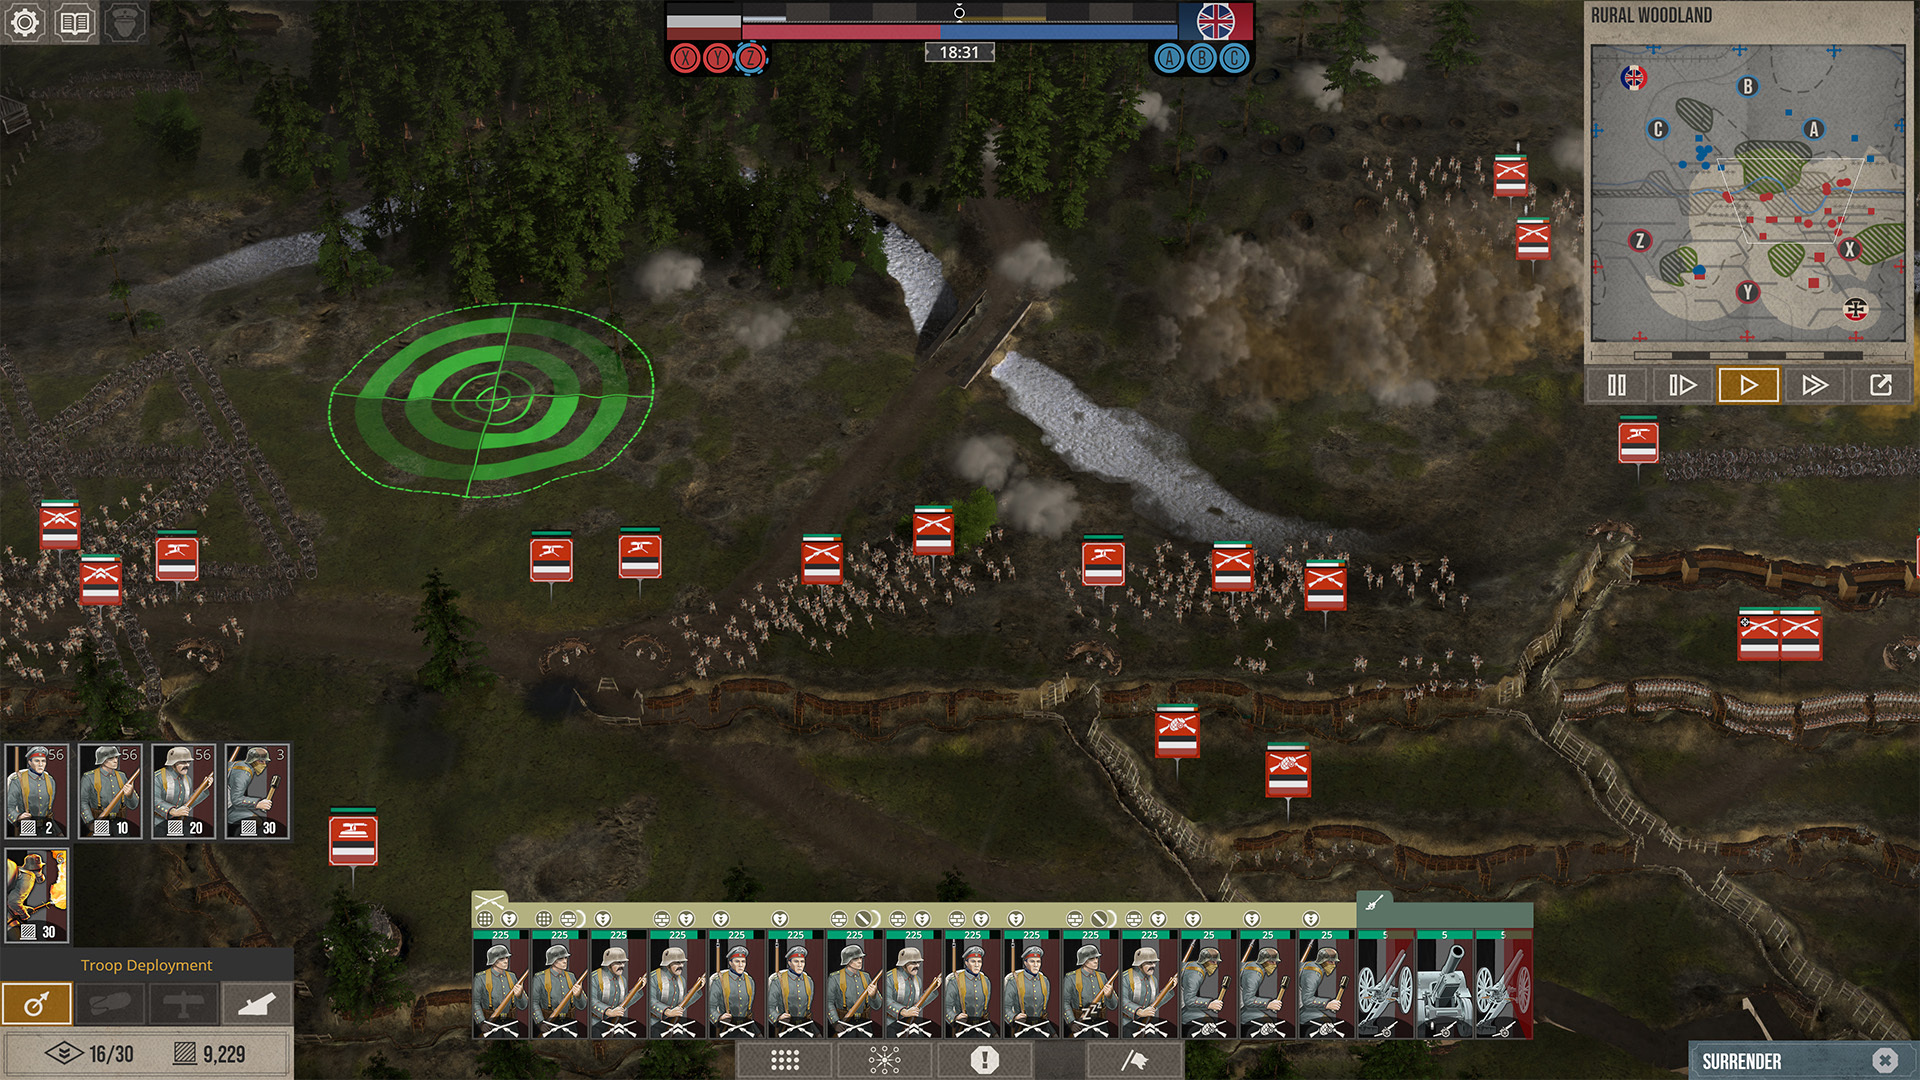
Managing Your Forces on the Battlefield
When taking direct control of the battlefield, your decisions will make the difference between victory and defeat, as well as the size of the impact this will make on the enemy.
Before battle begins, you may deploy your units to the battlefield in key positions and garrison your companies in trenches. This pre-battle stage is the optimum time to define your strategy for the conflict to come, building up your offensive forces or your defensive positions. Should you choose to research technologies such as undermined explosives, these can be placed during this phase. 25% of your supply will be reserved for the battle itself, and any additional Supply will be added to this to be used at your discretion.
Once battle begins you are still able to bring in reinforcements, however the Supply required to mobilise these forces will be higher than in the pre-battle stage. Be wary of your remaining Supply!
Should you run out of Supply as the attacker, you can choose to offer a ceasefire to your opponent, giving you both a chance to tend to your wounded and replenish your stockpile for future operations. Ceasefires can offer a tactical advantage when assaulting a region multiple times during the same turn, as all forces involved in a battle will incur Battle Fatigue, a maximum morale penalty which will stack with multiple engagements.

Artillery
Light artillery is best used to suppress enemy forces, creating opportunities to provide additional cover for your forces crossing No Man’s Land.
Heavy artillery on the other hand, will cause significant damage to emplacements such as MG nests and Mortars. Basic trenches won’t provide significant cover from these heavier bombardments, so infantry are also vulnerable.
Observation balloons are an essential early technology to deploy on the battlefield which will allow your artillery to target key positions, granting you visibility of enemy movements. Be wary of your enemy doing the same, as even if their own balloons are destroyed, they will be aware of what they have observed and may continue to launch artillery assaults on these positions.
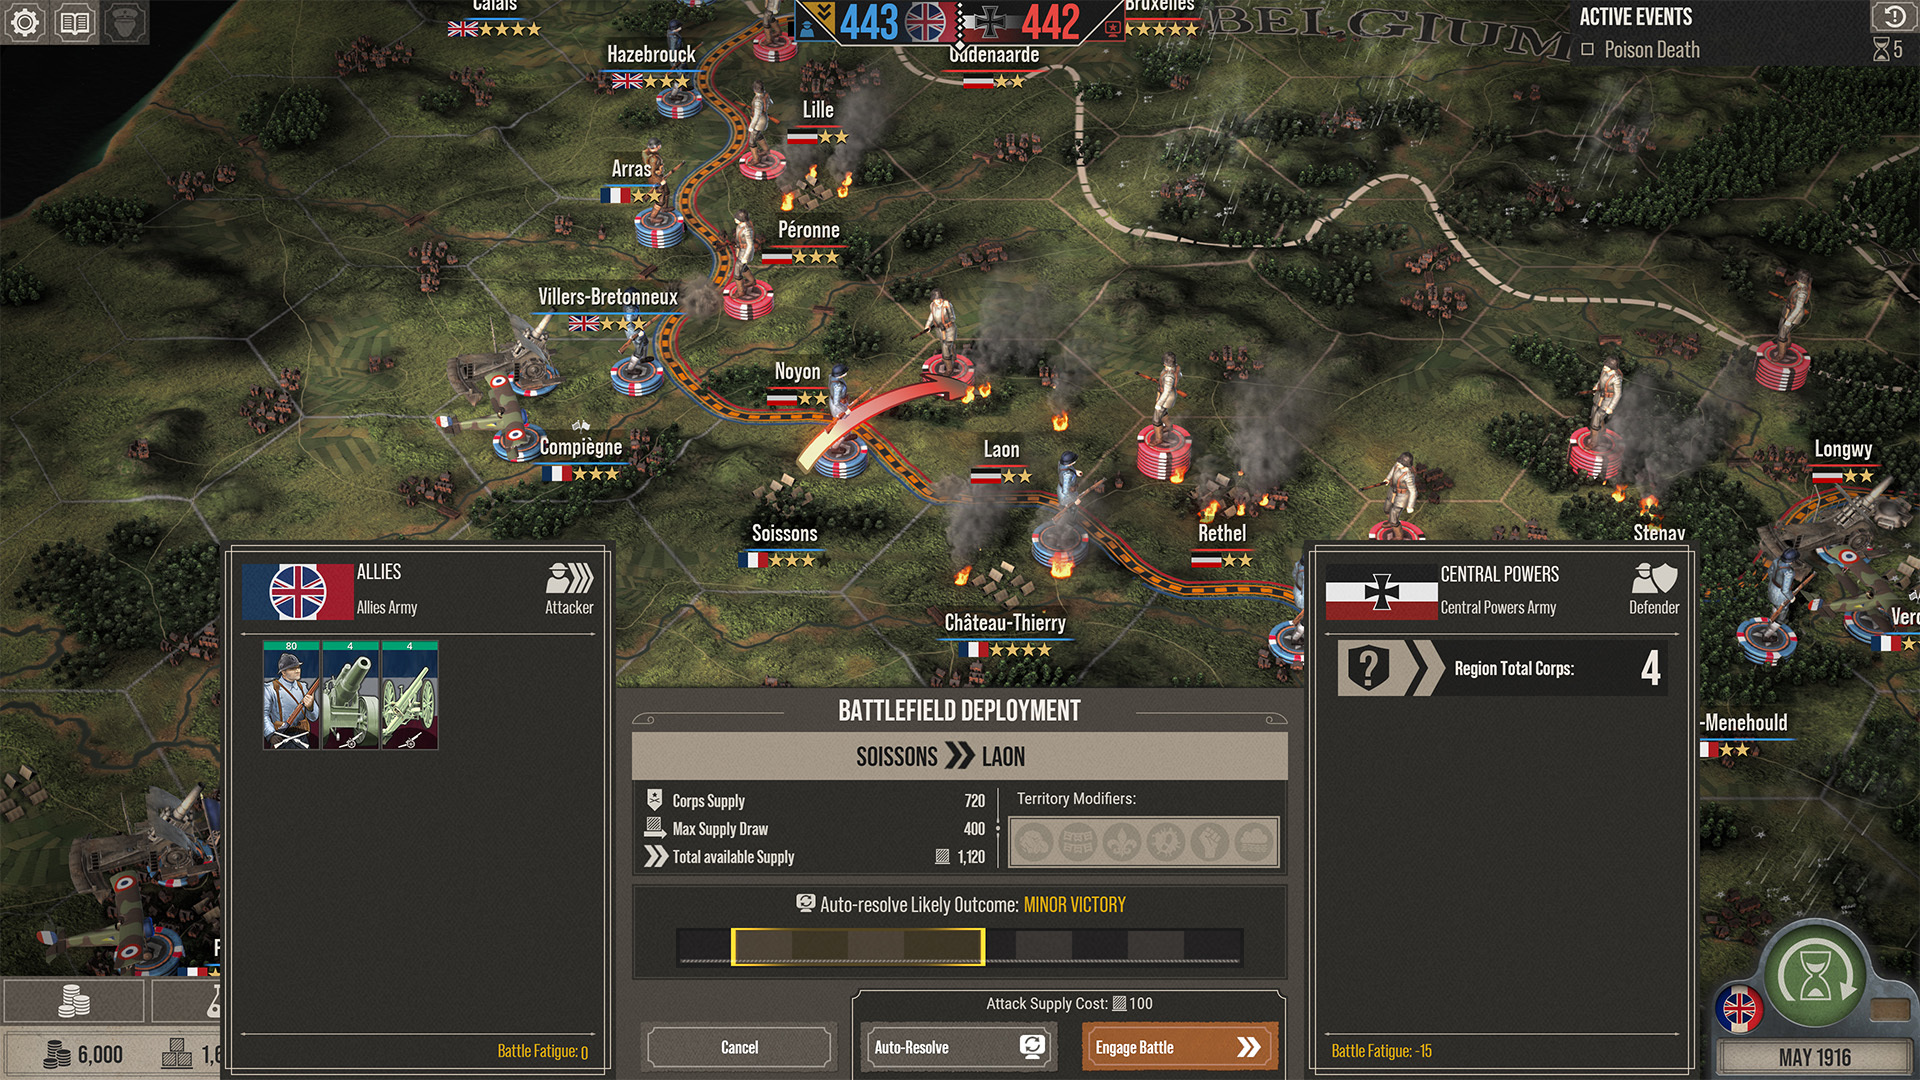
Achieving Victory
World War One is a war of inches, where every conflict has its own cost. Each region on the campaign map has a star value, which indicates the strategic value of that territory. Capturing higher value territory will inflict a greater National Will loss on your foes than capturing a lower value territory, so use this to your advantage as you position your forces across the campaign map.
To reduce a region’s star value, you must achieve a Great Victory by capturing each Command Point on the battlefield and the Command Trench, or forcing your opponent to surrender. Regions which have not seen conflict will replenish one star per turn, so it’s critical to keep contested territories under regular assault.
There are two ways to bring the war to a close, either by reducing National Will to zero, or by capturing the enemy’s Command HQ.
Additional Game Modes
Alongside Campaign, you can relive pivotal battles from World War One in Historic Battles. Skirmish offers the opportunity to create individual battle scenarios where you define the amount of Supply, the technology on offer and even the state of the battlefield. Or put your tactics to the test against fellow Commanders in 1v1 Multiplayer battles.
We trust that this intel proves useful. For further information and updates, follow us on Twitter and Facebook!


 Close
Close